
How to Make a Skateboard: A Step-by-Step Guide
In this ultimate guide on "how to make a skateboard", we'll break down the process step-by-step, from choosing the right materials to getting your hands dirty with some hands-on deck design. But let's be clear, we're not here for any boring DIY instruction manual.
We're diving into this with a sense of humor, a dash of irreverence, and a whole lot of stoke. So grab your protective gear, and a sense of adventure as we embark on a journey on "how to make a skateboard" and create the ride of your life. Ready to shred? Let's jump in!
What You Need to Make Your Skateboard
Alright, all you wannabe Tony Hawks and skater dudes and dudettes, gather 'round! Let's chat about the magical art of skateboard assembly. Now, unless you've been sipping on some Hogwarts potion, you can't just snap your fingers and have a skateboard appear. So, let's roll through the must-haves, shall we?
The Skateboard Deck
First up, the deck. And no, we're not talking about where you sip your mojitos. This is the stage where you'll be busting those moves. It's not just a plank of wood, darling. It's your canvas, your dance floor, your runway. Whether you're more of a chill cruiser or a trickster with flair, there's a deck out there with your name (or future graffiti) on it.
Grip Tape
Now, grip tape. Sounds like something James Bond might use, right? Wrong. The grip tape is that gritty, sandpaper-y stuff that keeps your fancy sneakers from flying off mid-kickflip. It's like your board giving you a sticky hug, whispering, "Don't worry, I won't let you go."
Trucks
Onto the trucks. No, not the big honking ones on the highway. These shiny metal thingamajigs attach to your deck and stand up cradle your wheels. Picking the right trucks is like choosing the perfect pair of heels or sneakers – it's gotta look good and feel right.
Wheels
Speaking of rolling, let's talk wheels. These aren't just rubber donuts; they're your chariot's steeds. Whether you're zipping through city alleys or bombing down hills, there's a wheel flavor just for your taste.
Bearings
Bearings? Oh, those unsung heroes. These little round wonders make sure your wheels don't just flop around. They're the secret sauce to that buttery glide. Don't skimp on these; it's like forgetting the sprinkles on your sundae.
Hardware
And lastly, the nuts and bolts, or as we call it, the hardware. It's like the jewelry of your board, holding the bearings and all the bling together. Without these, you'd just have a pile of skateboard soup.
Now that you're armed with this treasure map of skateboard assembly, it's time to get crafty. Dive into the world of decks, dabble in skateboard grip tape artistry, and create a ride that screams, "This is ME!" Ready, set, skate!
Steps to Create Your Skateboard
Creating your own skateboard is like crafting a work of skateboard art that's also a ticket to adrenaline-fueled adventures. Here's a breakdown of the steps to transform those raw materials into metal pieces for your own decked-out ride:
Forming and Pressing the Wood
Before we dive into the nitty-gritty, let's get one thing straight: skateboards aren't just planks of wood with wheels. They're a delicate balance of art and engineering. And it all starts with forming and pressing the wood. Think of it as the foundation of your skyscraper, or the crust of your pizza. Important, right?
Building a DIY Skateboard Mold
You wouldn't bake a cake without a pan, would you? Similarly, you can't form a skateboard without a mold. This is where you get to decide the shape, curve, and overall vibe of your board. Now that we've got our board types our mold ready, it's time to assemble the masterpiece.
Assembling a Custom Board
Diving into the world of skateboard assembly is akin to crafting a symphony, where each component plays its vital note. Now, let's get down to the brass tacks. The deck, the very soul of your skateboard, is our starting point.
It's more than just wood; it's where tricks come to life and where riders connect with the road. Ensuring a strong, durable foundation tailored to your skating desires is paramount. From the veneers to the glue binding them, every choice we make in this meticulous dance of precision and passion shapes the identity of our board.
So, as we embark on this journey, remember: each step is pivotal in crafting your skateboard masterpiece.
Step 1: Prep the Veneers for Layering
Alright, skate prodigies, let's talk veneers. Think of veneers as the unsung heroes of the skateboard world. They're like the layers of an onion, but without the emotional breakdowns in the kitchen. Each veneer is a thin slice of wood that, when combined, gives your board its strength, flexibility, and undeniable swagger.
Now, before you start slapping these bad boys together, there's a bit of prep work involved. First, give each veneer a good once-over. We're talking a spa day for wood. Ensure they're clean, free from any splinters or imperfections, and as dry as British humor. Any moisture can be a real party pooper, leading to warping or a weak bond later on.

Got them looking spick and span? Fabulous! Now, channel your inner librarian and organize them. You'll want to have them in order, from face veneers to core veneers, and then crossband veneers. It's like arranging a wood symphony, with each veneer playing its part.
With most boards our veneers prepped and lined up like eager contestants on a game show, it's time to move on to the main event: stacking. But more on that in the next step. For now, give yourself a pat on the back for mastering the art of veneer prep!
Step 2: Layer the Veneers in Order
Alright, skate prodigy, let's talk veneers. Think of them as the lasagna layers of your skateboard. And just like you wouldn't slap any old ingredients into your Italian masterpiece, you shouldn't do the same with your board.
First off, this isn't a sandwich, but layering is just as crucial. Heck, it might be even more essential unless you fancy riding a floppy piece of plywood down the street. Each type of veneer plays its own little game:
-
Face veneers: These are the divas of the veneer world. They're the outermost layers and need to look pretty. After all, they're the face of your board, quite literally.
-
Core veneers: The unsung heroes. They might not get the spotlight, but they provide the meaty middle that gives your board its strength. Think of them as the cheese in your lasagna - not always visible, but oh-so-crucial.
-
Crossband veneers: These sneaky little layers go perpendicular to the others, adding that extra rigidity. They're like that secret ingredient your grandma adds to her recipes – not immediately noticeable but makes all the difference.
Got your veneers all stacked up like a deck of cards? Perfect. But don't pat yourself on the back just yet. We've got them layered, but now we need to bond them tighter than your jeans after Thanksgiving dinner. Onward!
Step 3: Glue the Veneers Together
Alright, Picasso, before we get to the fun painting part, we've got to ensure our canvas is primed and ready. And that means? You guessed it: glue!
Now, I'm not talking about the kind you may or may not have tasted in kindergarten (no judgment). We're diving into the world of wood glue, the unsung hero of skateboard assembly.
Time to get sticky, and I mean really sticky. This isn't a drizzle; it's a downpour. Slather a generous amount of that gooey goodness between each veneer. Think of it as the peanut butter in a PB&J sandwich; you want every bite – or in this case, every inch – to have its fair share.
Once they're all snug, cozy, and glued up, it's spa time for our board. But instead of mud masks and cucumber slices, we're talking pressure and patience. So, let your board have its relaxation moment; it's about to carry you on countless adventures, after all!
Step 4: Press and Cure the Deck
Alright, DIY daredevils, it's time to play a little game I like to call "Skateboard Sandwich." Why? Because we're about to press those layers together tighter than a hipster in skinny jeans.
First, slide that soon-to-be deck into your mold. Think of it as tucking your board into its cozy bed. But instead of a bedtime story, it gets a good ol' squeeze. Apply pressure, and I mean real pressure. We're not giving a gentle hug here; we're going for a bear embrace.
Now, patience, young grasshopper. Let the deck cure. This isn't a time for impromptu deck doodling or impatient poking. It's like letting dough rise or waiting for your phone to update (we all know the agony). The deck needs its beauty sleep to solidify and become one with its shape.
Once it's done marinating in its own awesomeness and is fully cured, it's time to unveil the masterpiece. But hold onto your skateboards and socks, because we're not done yet. Next, we're going to sculpt and refine, turning that slab of wood into a rideable work of art. Ready? Onward!
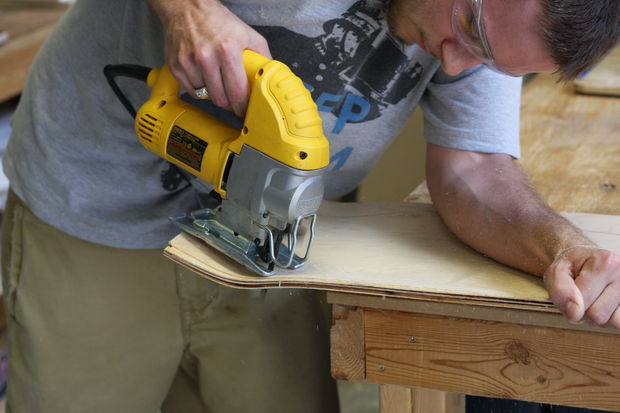
Step 5: Cut and Shape the Deck
Alright, Picasso, put down that paintbrush because it is clear coat's not design time just yet. First, we've got to chisel out our masterpiece from its wooden cocoon. Once your board emerges from the press, it's probably looking a bit like a potato chip that's been at the gym – bulky and not quite the sleek cruiser you envisioned.
Now, here's where the magic happens. Cutting and shaping the skateboard deck is like giving a lion a haircut. It's all about precision, style, and a dash of bravery. You want to trim away the excess, but not so much that you're left with a toothpick on wheels. Find that sweet spot between "beastly skateboard" and "why is there so little left?"
And while you might be eager to show off your board's new curves, hold your horses! Or, in this case, your skateboard trucks do. Before this bad boy can grace the streets with its presence, there's some drilling to be done. But don't worry, we'll get to that. For now, focus on sculpting that skateboard deck into the envy of every skater in town. Remember, it's not just a piece of wood; it's a statement. Make it loud and proud!
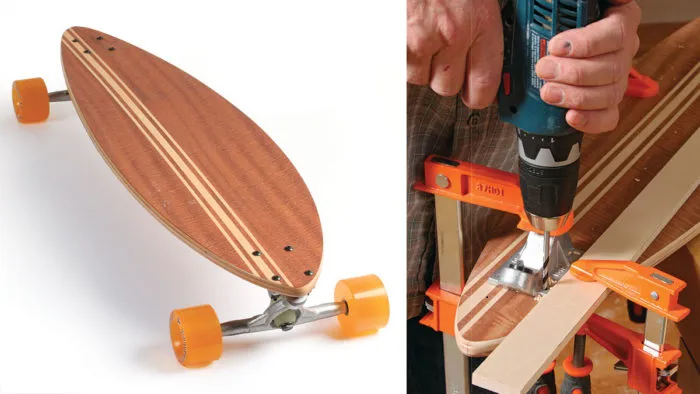
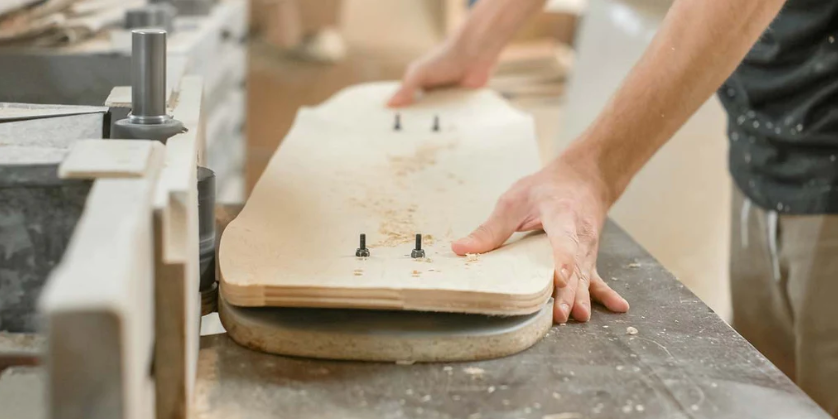
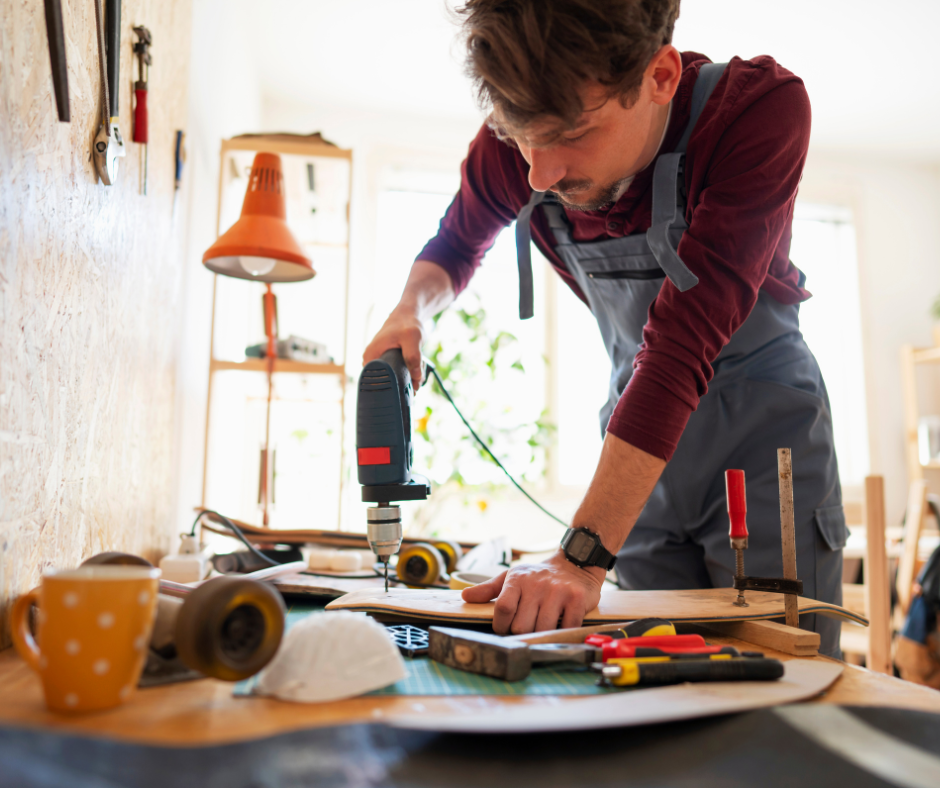
Step 6: Measure and Drill Truck Holes into the Deck
Alright, DIY daredevils, it's time to play a little game I like to call "Don't Ruin Your Almost-Finished Masterpiece." You've come this far, and now it's time to get a bit... hole-y.
First things first, those trucks aren’t going to magically float under your board. They need a proper introduction, and that's where drilling comes in. But before you go all mad scientist with your power tools, remember: precision is the name of the game.
Think of it as the skateboard's acupuncture. You wouldn’t want needles randomly jabbed into you, would you? So, measure twice, or thrice, or heck, even four times if you're feeling particularly paranoid.
Once you're confident about where those holes should go, it's drill time. And here's a cheeky tip: keep a steady hand and a clear mind. Maybe lay off the caffeine for this one. Got those holes drilled to perfection? Give yourself a pat on the back! But don't get too comfy; we've still got some trimming to do. Onward!
Step 7: Trim Excess Wood from the Skateboard Deck
Alright, hotshot, imagine this: You've been growing out that wild mane of yours for months, and now it's time for a snazzy new 'do. That's precisely where we're at with your skateboard. It's been through the ringer—pressed, cured, and drilled—and now, it's sporting some wild edges that would make even the 80's jealous.
Trimming the excess wood from your skateboard deck is like giving it that much-needed trip to the barber (or salon, we don't judge). You wouldn't show up to prom with a mullet, would you? (Okay, maybe some of you would.)
But for the sake of this metaphor, let's say you wouldn't. Your skateboard is the same. It's about to make its grand debut, and it needs to look sharp—literally and figuratively.
So, grab your skate tool and channel your inner hairstylist. Snip, cut rough shape, and shape until your board looks as sleek as a catwalk model. And once you've bid adieu to those unruly edges, we'll be ready to make things silky smooth.
After all, nobody likes splinters on their ride—or their rear. Onward to the next step, where we'll polish things up and make your board runway-ready!
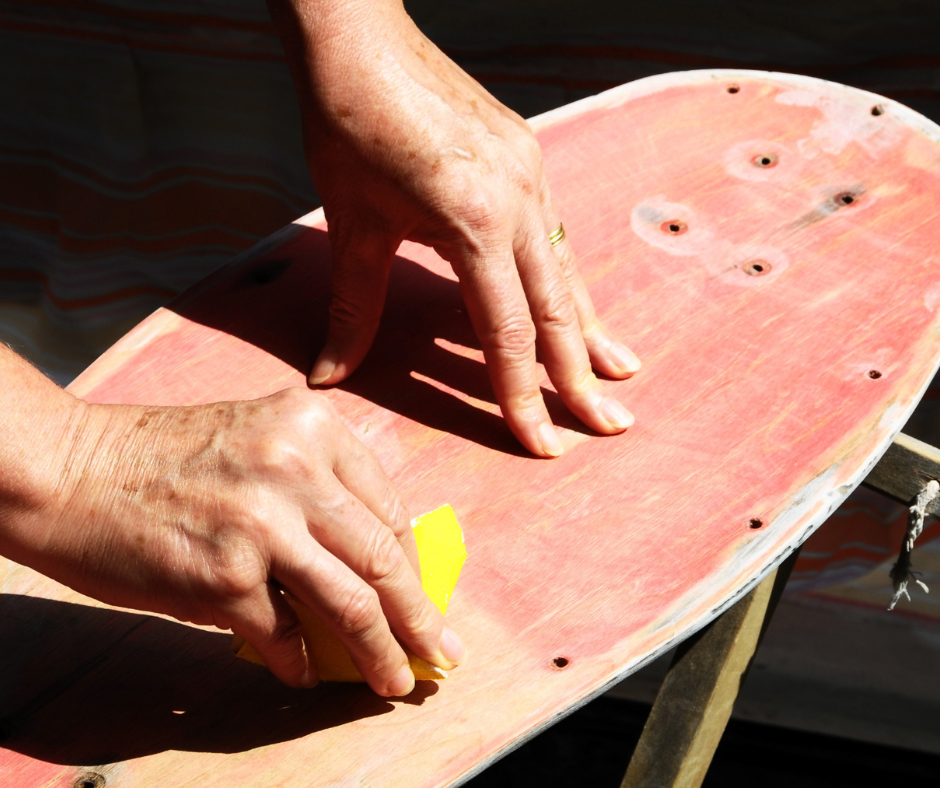
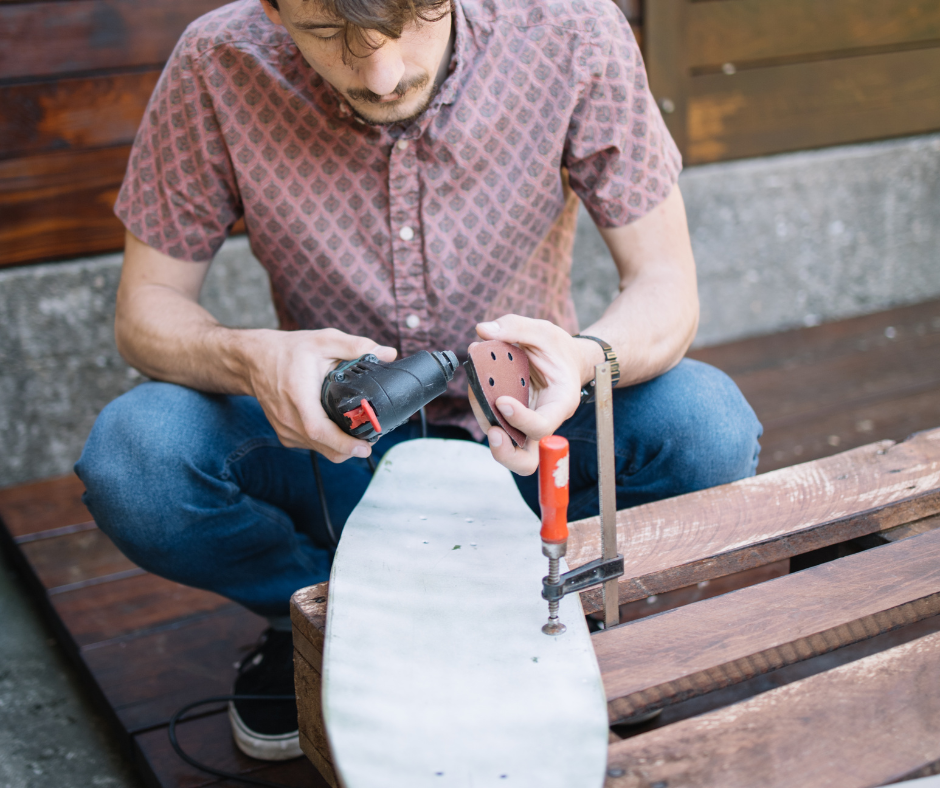
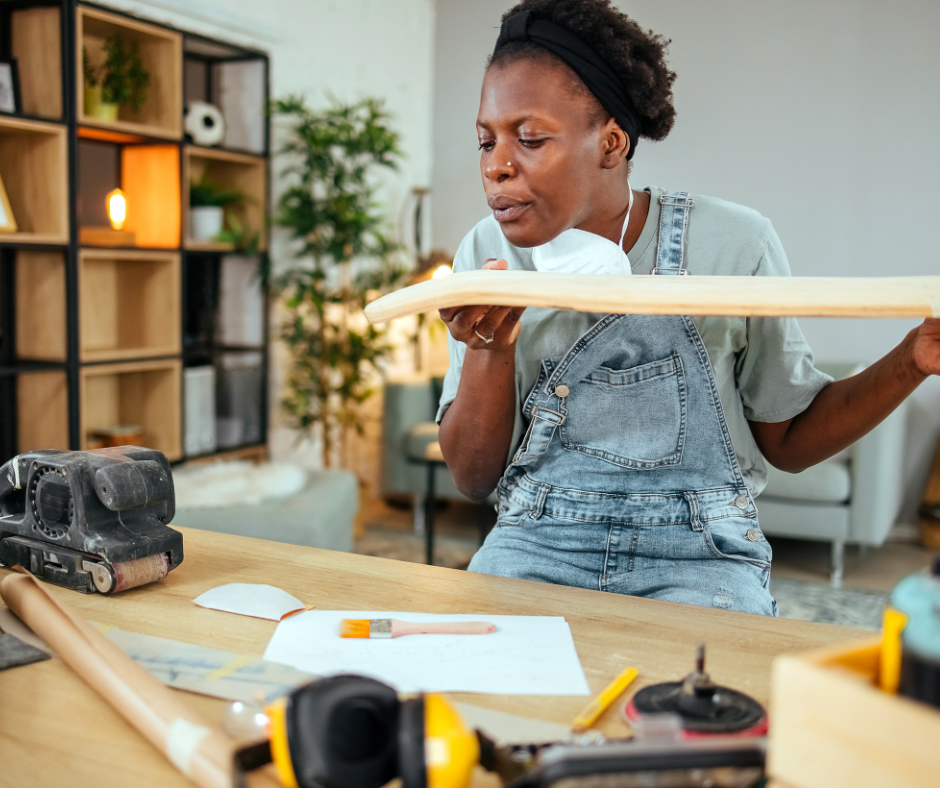
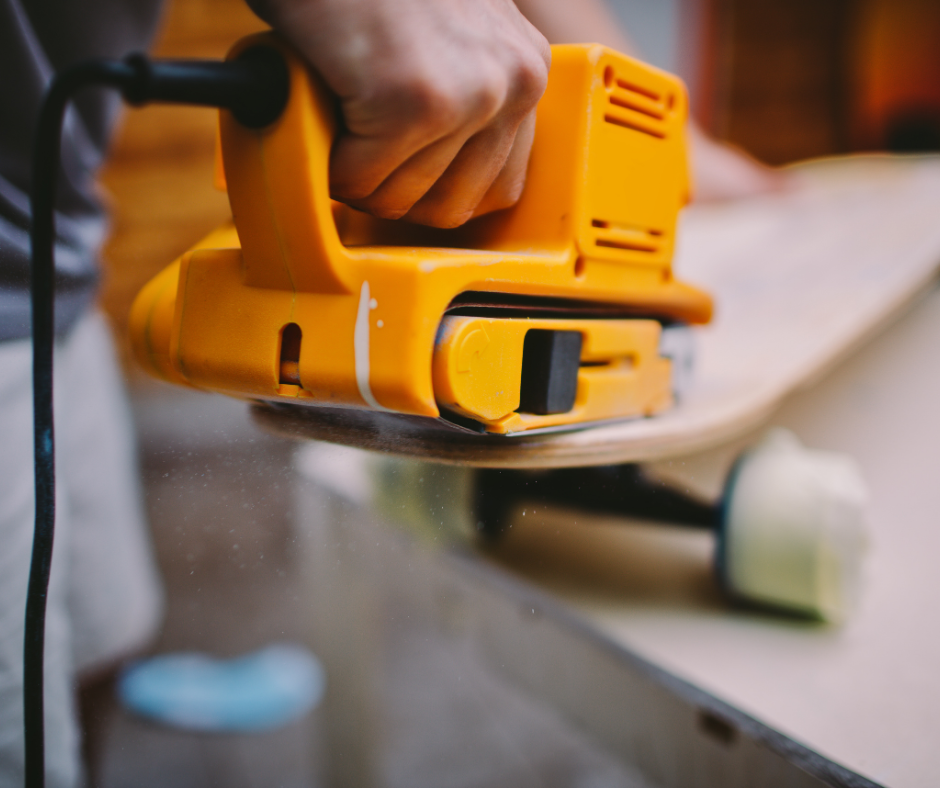
Step 8: Finish the Surface of Your Deck
Alright, DIY daredevils, it's time to get handsy with your board sand down! You wouldn't show up to a red carpet event in wrinkled clothes, would you? Similarly, your skateboard deserves that A-list treatment. Enter: sanding.
Sanding is like the skincare routine for your deck. It's all about exfoliating away the rough patches and revealing that radiant, youthful glow beneath. Start with a coarser grit to tackle those gnarly blemishes, then work your way up to a finer grit for that silky-smooth finish.
The goal? Sand the entire skateboard deck and make it as smooth as a baby's bottom or a dollop of freshly churned butter sliding down a hot pancake.
But wait, there's more! Once you've achieved that velvety texture, it's time to make your board shine brighter than a disco ball on a Saturday night. Whether you're going for a matte finish or a glossy sheen, remember: your board is a reflection of you.
So, give it the glow-up it truly deserves. And when you're cruising down the street, and someone's eyes are blinded by the sheer brilliance of your deck, you'll know you've done it right. Shine on, you crazy diamond!
Step 9: Gloss with Lacquer
Lacquer isn't just about adding a glossy finish to your skateboard; it's the base coat that serves as the final layer of armor. This protective shield safeguards your board from the elements, rogue puddles, and even the accidental spill of your morning coffee. Think a clear coat of lacquer as the sunscreen for your skateboard – because just like our skin, nobody likes a sunburnt skateboard deck.
But wait, there's more! Not only does lacquer protect, but it also elevates the aesthetic of your board. It's the difference between spray paint, between a matte photo and a glossy one, between the smooth surfaces of a donut without glaze and one dripping with sugary goodness.
When applying, make sure you're in a well-ventilated area, and for the love of all things skateboarding, be patient. Let each coat dry thoroughly before you even think about adding another.
So, grab that can, that paint roller, channel your inner artist, paint and give your board the grand finale it deserves. After all, every skateboard diva deserves a bit of shine in her life!
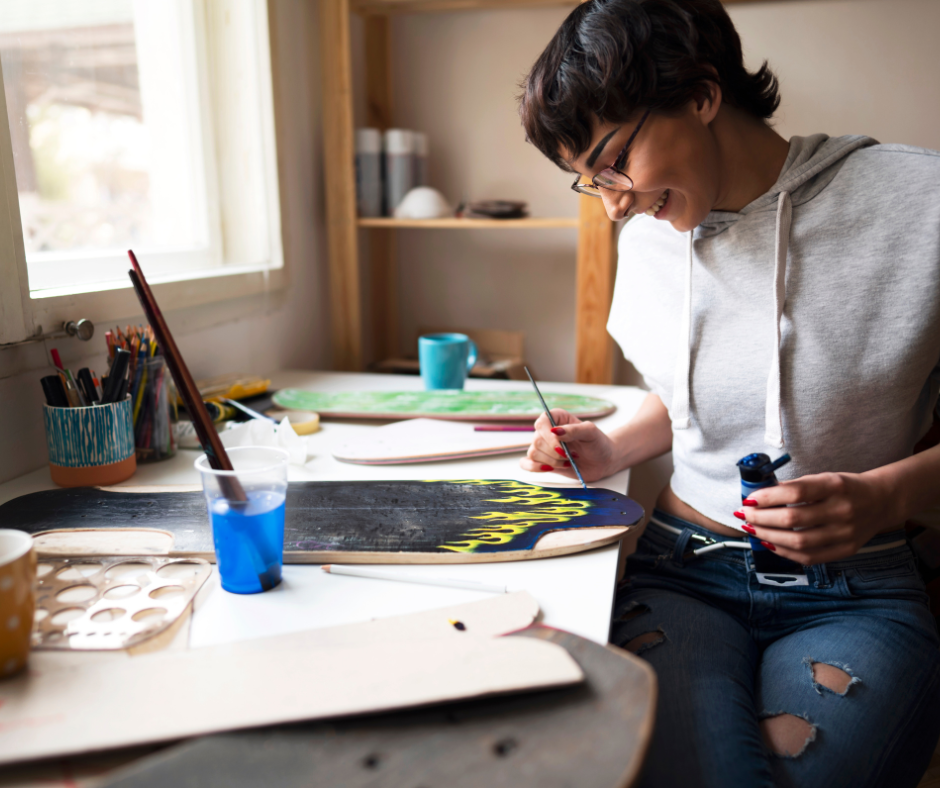
Step 10: Design Your Deck
Picasso-in-training, it's time to let that wild imagination of yours run rampant. Think of your deck as a blank canvas, and your paintbrush? Well, that's your unbridled creativity. You've spent so much time crafting the perfect board, so why slap on a generic sticker or a yawn-worthy design?
Ever dreamt of a fire-breathing dragon soaring over a cityscape? Go for it. Perhaps a serene sunset over a calm ocean, with dolphins leaping and a mermaid giving a cheeky wink? Why the heck not? Or maybe, just maybe, you've always wanted a potato wearing sunglasses, chilling on a beach chair, sipping a piña colada. Oddly specific? Sure. But hey, we're not here to judge your spud-tacular vision.
Remember, this is the step where your skateboard truly becomes yours. It's the cherry on top, the pièce de résistance, the final touch that screams, "This is me, world!"
So, whether you're hand-painting, using spray paint, stenciling, or using custom decals, make sure it's a design that you'd be proud to ride down the main street, through the park, or even into your next board meeting (because who says CEOs can't shred?). Go big, go bold, and most importantly, have fun with it!
Your Very Own Skateboard
If you've followed along and now have your very own skateboard deck in hand, congratulations! You're on the cusp of completing your skateboard setup and embarking on thrilling rides.
Your skateboard deck, adorned with your unique design and tailored shape, is undoubtedly the star of the show. However, a few more components are essential to transform this piece of art into a fully functional skateboard.
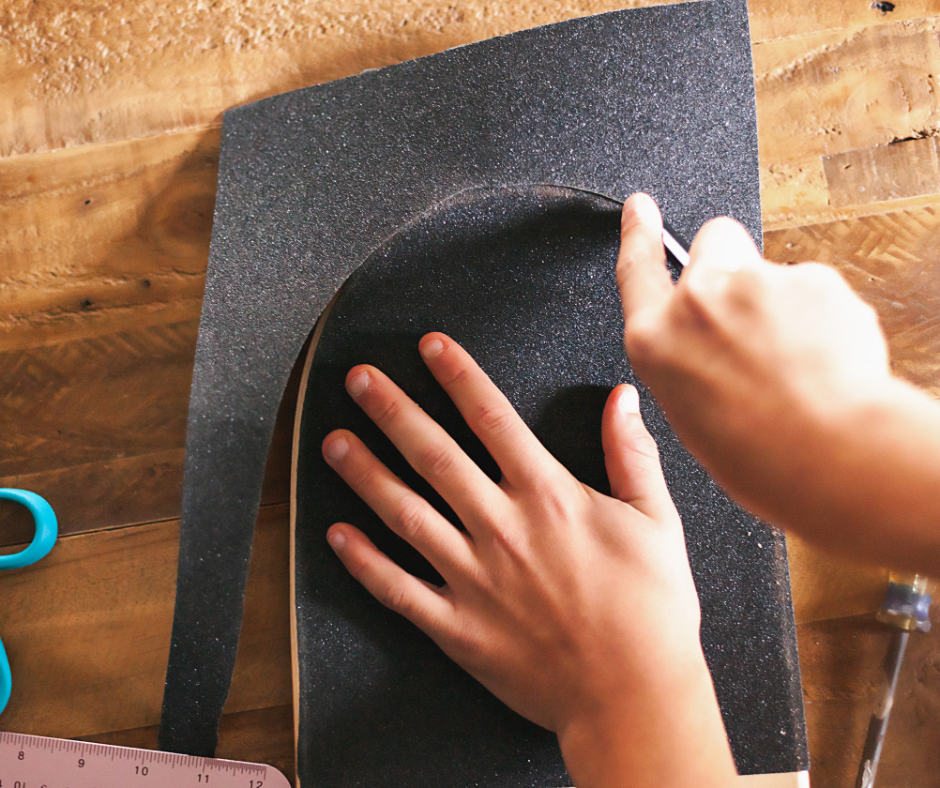
Before we move to trucks and wheels, there's the vital step of applying grip tape. This adhesive-backed, sandpaper-like material provides the traction you'll need underfoot. To apply, simply lay the griptape onto the deck, press down firmly, and then trim away any excess using a razor or blade, following the contours of your deck.
Once your grip tape is in place, it's time to select the right trucks. Trucks play a pivotal role in determining how your skateboard turns and handles, so it's crucial to choose ones that complement your deck and riding style.
After choosing your trucks, you'll need to pick out your wheels. Wheels come in various sizes and durometers, affecting your ride's speed and smoothness. Once you've made your selection, attaching the trucks and wheels to your custom deck is straightforward.
The process is no different than with any regular skateboard you'd find on store shelves. With everything securely attached, you'll be ready to hit the pavement and start skating.
Tips and Warnings
Creating your own skateboard is a thrilling DIY project, but it comes with some nuances and safety considerations. Here are some essential tips and warnings to ensure your skateboarding journey is a ride:
-
Safety First: Always wear proper safety gear when skateboarding, including a helmet, knee pads, elbow pads, and wrist guards. Skateboarding can be risky, especially if you're trying new tricks or riding on unfamiliar terrain. Protecting yourself should be your top priority.
-
Start Simple: If you're new to skateboarding or skateboard crafting, start with a basic skatevoard deck design and build a new board. As you gain experience and confidence, you can get more adventurous with your designs and modifications. Don't rush into complex projects until you've got the basics down.
-
Respect the Materials: Be mindful of the materials you're working with, including the skate tool. Use the right tools and equipment for each step, and follow safety guidelines when handling adhesives, finishes, or any potentially hazardous substances.
-
Maintenance Matters: After you've crafted your skateboard, remember that maintenance is key to its longevity. Regularly skateboard check and tighten your trucks and hardware, replace worn-out skateboard excess grip tape, harder wheels, and keep an eye on the deck for any signs of damage or wear.
-
Ride Safely: While it's exciting to test out your custom creation, always ride responsibly. Familiarize yourself with local skateboarding laws and regulations, and choose safe and suitable locations for your rides. Respect pedestrians, cyclists, and other skaters on the road or in parks.
Conclusion
Congratulations, skateboard crafting extraordinaire! You've journeyed through the exhilarating process of transforming raw materials into a custom skateboard, mastering the "build your own skateboard" challenge.
This isn't just a deck but a canvas for your style and personality. Your creation is more than just a mode of transportation; it's a reflection of your passion for skating and your knack for DIY craftsmanship. Now, let's build a skateboard that truly represents your unique vision.
As you cruise down the streets, carve through skate parks, and attempt daring tricks on your one-of-a-kind skateboard, remember the effort and love you poured into this project. Even the trips to home improvement stores to find just the right materials played a part in its creation.
Your board isn't just a means to get from point A to B; it's a statement of individuality, a symbol of your dedication to the sport, and a testament to the creativity that fuels the skateboarding community.
So, grab your skateboard bearings and your deck, hit the pavement, and let your basic knowledge of skateboarding be a reminder that in the world of skating, the journey is just as thrilling as the destination. May your rides be smooth, your tricks stylish, and your passion for skateboarding burn brighter than ever. Keep rolling, keep creating, and keep shredding!