
How to Clean Skateboard Bearings: Secrets to a Smoother Ride!
When Should You Clean Your Bearings?
Alright, glittery skateboarding star, let’s spill some sassy tea. Skateboarding isn't just about mastering the art of the majestic ollie or achieving that oh-so-elusive perfect kickflip. Oh no, sweet cheeks! It's also about giving some TLC to those shiny round divas you call bearings.
Think of them as the unsung heroes, the fabulous backup dancers that make your star performance on the board possible.
Now, imagine you’re the lead in a musical (stay with me here), and your background dancers (those bearings, remember?) are lagging, barely keeping pace, and groaning like grandpa Joe after a Sunday roast. Not quite the dream team, right? That's precisely how you recognize that it's time for an intervention, honey.
If your skateboard wheels are strutting around the block slower than a sloth after a Netflix binge or squeaking worse than your sneakers on a fresh mall floor, darling, those skateboard bearings are not just whispering—they’re outright screaming for a spa day. Maybe even a retreat with hot stone massages and a cucumber mask!
But hold on to your skate socks, superstar! Don't just rely on the obvious signs. Even if they aren't making a racket or staging a slow-motion protest, it doesn’t mean they couldn’t use a good cleanse. After all, would you wait a few hours for your skin to scream SOS before indulging in a face mask? I thought not.
Remember, it's all about those little signs. Feeling more resistance than usual when you push? Wheels spinning like they've had one too many espressos? Or maybe they're just not gliding like the smooth operators they once were? Time to roll up those sleeves and give those bearings the star treatment they truly deserve.
Now, how do you know when your tiny metal buddies are asking for some TLC? Let's dive in!
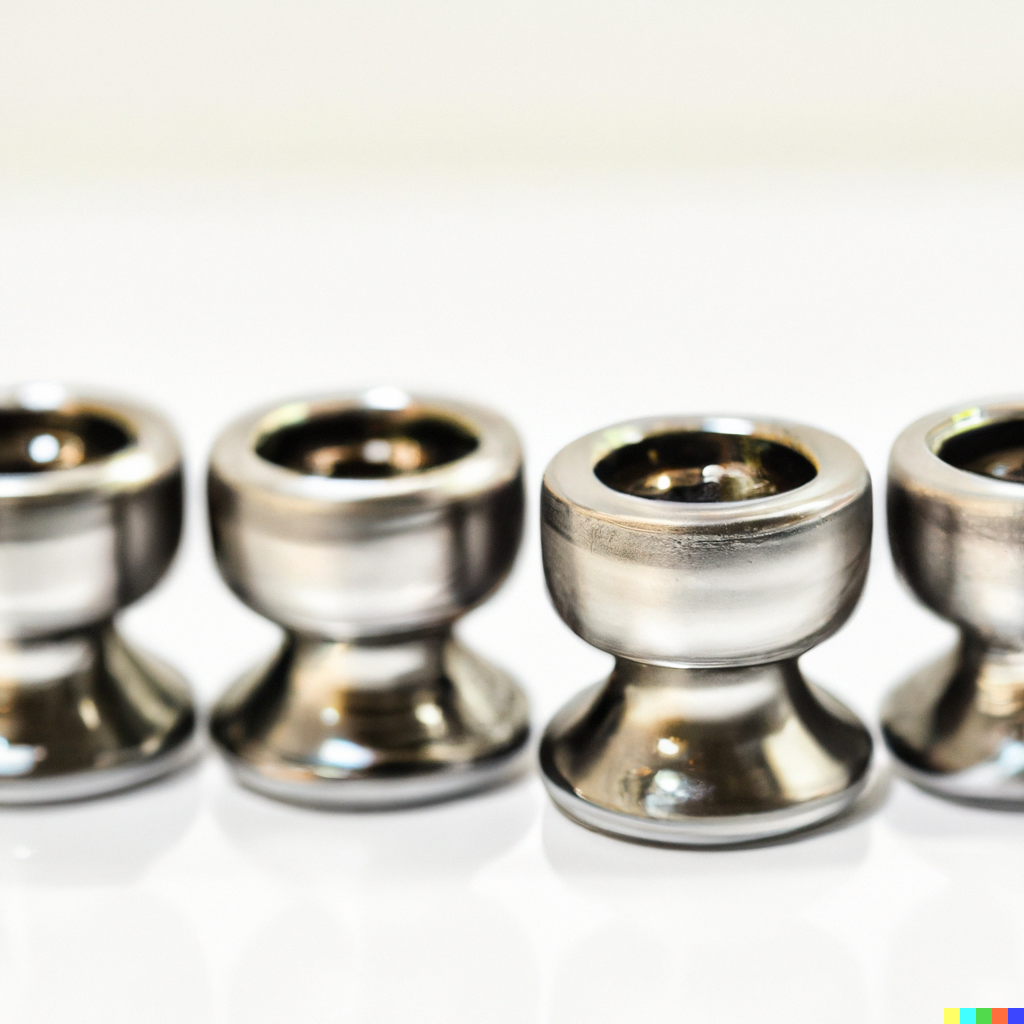
What You'll Need to Get Started:
Now that you’re itching to give your skateboard bearings a makeover, let’s talk about the tools of the trade. Every artist needs their palette, right?
Step 1: Gather Your Materials
Roll out the red carpet because we’re assembling the elite VIPs of the bearing spa world.
Darlings, here's the posh list for your cleaning soiree:
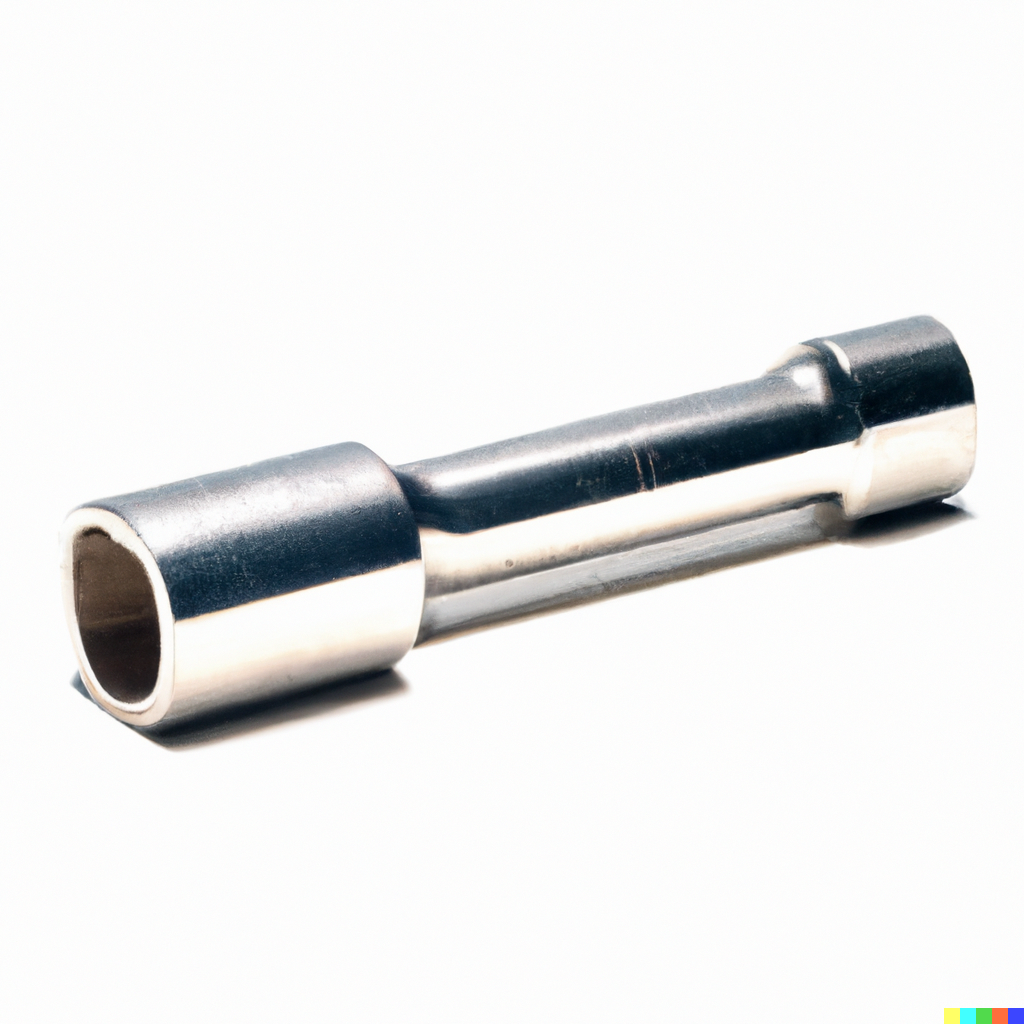
-
Skate Tool or the Almighty Socket Wrench: Channel those inner Hulk vibes and unscrew like the superstar you are. Don’t have one? A socket wrench is your next BFF.
-
A Fancy Bowl (or Whatever’s Clean in Your Kitchen): Let’s be real, it’s a pool party for your bearings, and any bowl will do. So, no need for that Versace dishware.
-
Isopropyl Alcohol or Mineral Spirits: Think of this as the champagne of cleaners. It's bubbly, it’s sassy, and it's about to make those bearings dazzle.
-
Paper Towel or a Humble Dry Rag: It’s like the VIP lounge where your bearings chill out post-cleaning. Get the fluffiest, plushest one you can find. Or, y'know, whatever doesn't smell in the laundry pile.
-
Bearing Lubricant: If this were a Hollywood movie, Bones Speed Cream would be the lead actor. Essential, smooth, and impossible to replace. (But in a pinch, a little oil can audition for the role).
-
A Pin or a Razor Blade: Before you panic, it's not a scene from a horror movie. It's just to gently coax those stubborn metal or bearing shields into showing themselves. Show a little love, a little patience, and they’ll come around.
Now that we've curated the perfect toolkit, give yourself a snap! Because, honey, your skate game is about to go from drab to fab! Let's dive into that treasure trove and give those bearings the pampering they so rightfully deserve. Twirl, and off we go!
Step 2: Secure your workspace
Well, well, well! Before you start your bearing beautification journey, let's pick the perfect spot. You don't cook a five-course meal in a shoebox, right? Same goes for our bearing spa day!
Find a space where the ventilation is better than your aunt's gossip game. Honestly, no one wants to faint from chemical overload, especially with a face full of new bearing grease. Let's aim for a "clean air, don't care" vibe, shall we?
Now, onto the runway—oops, I mean your workspace. Find a flat, sturdy surface, darling. Those bearings might look cute and innocent, but give them a chance, and they'll roll off to who-knows-where. It's almost like they've got a mind of their own. Unless you fancy chasing bearings around like a toddler with a sugar rush, keep it flat.

Got old newspapers or magazines lying around? Spread them out! Not only does it catch spills, but it also gives you a sneak peek into last season's fashion fails. Fun and functional!
And let's talk about those glamorous hands of yours. We're aiming for "clean and chic," not "grease-monster chic." So, slap on those gloves—latex, rubber, or leather (if you're feeling extra). Keep it clean, darling!
Last but not least, a little mood lighting never hurt. But perhaps skip the candles this time (fire hazard with the fumes and all). Instead, make sure your workspace is well-lit. After all, you don't want to accidentally grab the motor oil when you're reaching for that Bones Speed Cream, do you?
Got your goodies? Great! But where's the stage for this dramatic cleaning process? Right here, with all the pizzazz and flair of a Broadway show! Let the bearing extravaganza begin!
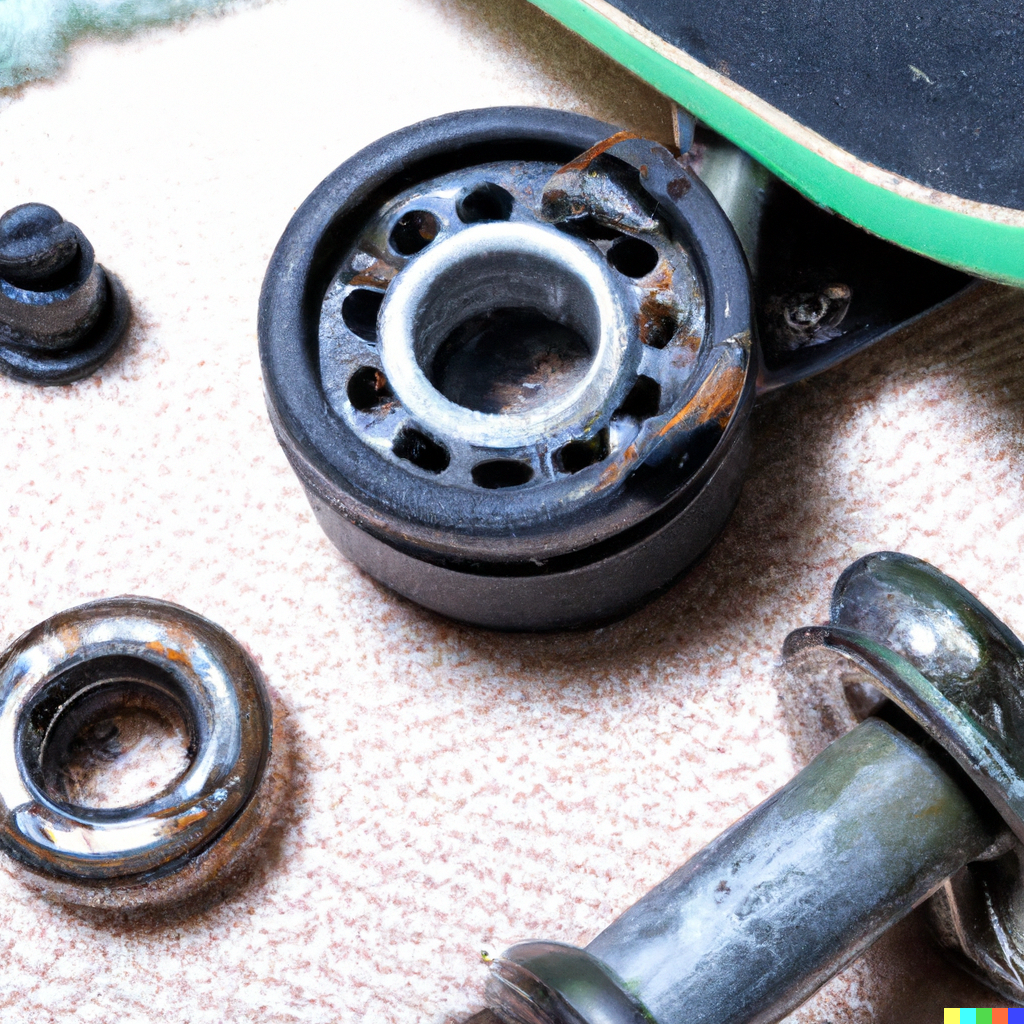
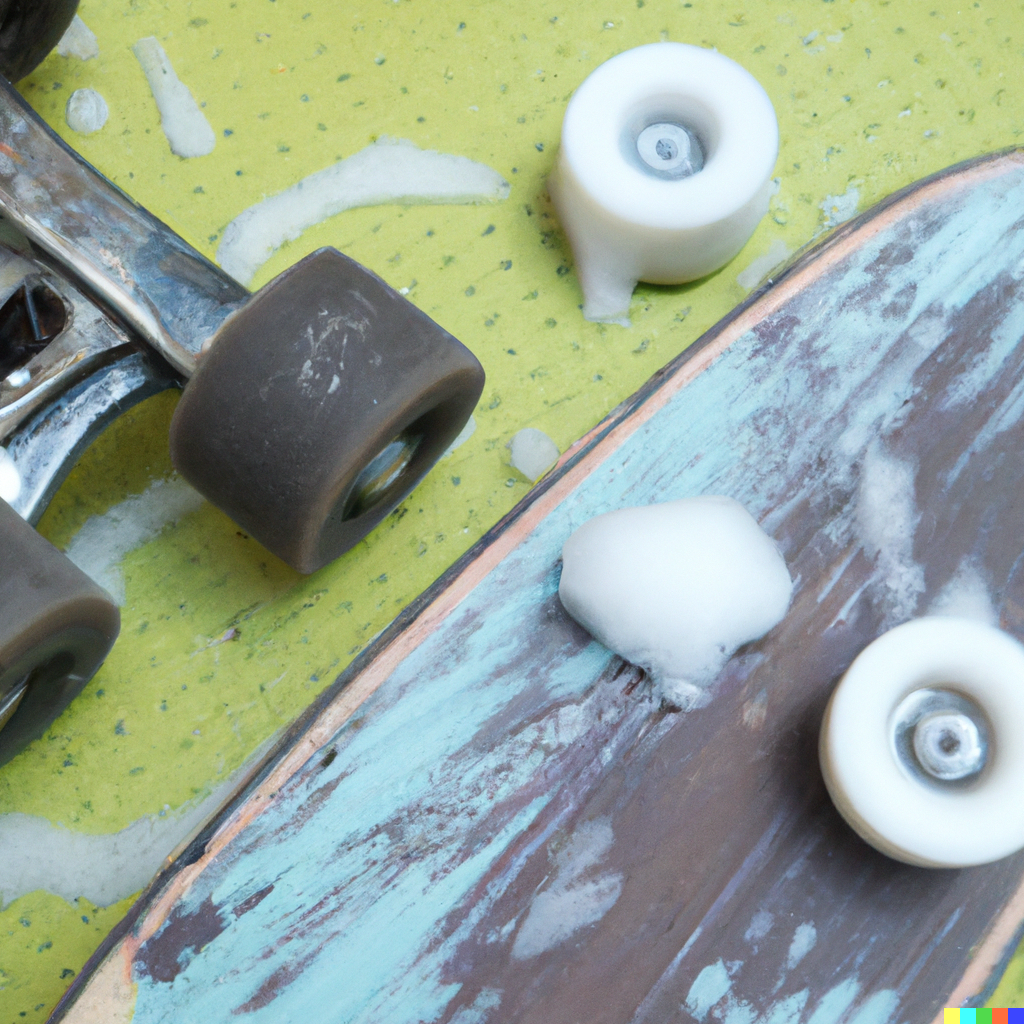
Step 3: Remove Wheels and Bearings
Alright, superstar, it's showtime!
First, grab your stage essentials: the ever-reliable skate tool or that good ol’ socket wrench. Whichever one you've got, both are bound to turn you into a wheel-removing maestro in no time.
Now, with some sultry tunes in the background, it's time to unscrew those axle nuts. Remember, righty-tighty, lefty-loosey! Once you've got that groove going and those axle nuts are unwinding, it'll feel like an unfolding drama. The wheels will be inching their way off, almost as if they're tantalizingly peeling off layers, ready to take flight and soar.
And voila! With a final flourish, your wheels are free, floating like birds on vacation, leaving behind the stage - the skateboard. Now, comes the twist in our little saga. Nestled in those wheels are the unassuming but pivotal stars of our show: the bearings.
Treat them with the tenderness they deserve, as you gently evict them from their cozy wheel nooks. Hold them in your hand, whisper sweet assurances—there's no hard feelings, it's just bath time!
Remember, it's not a goodbye, it's a see-you-after-the-clean. So, wear that confident smirk, give yourself a pat on the back, and let's proceed with the spa session.
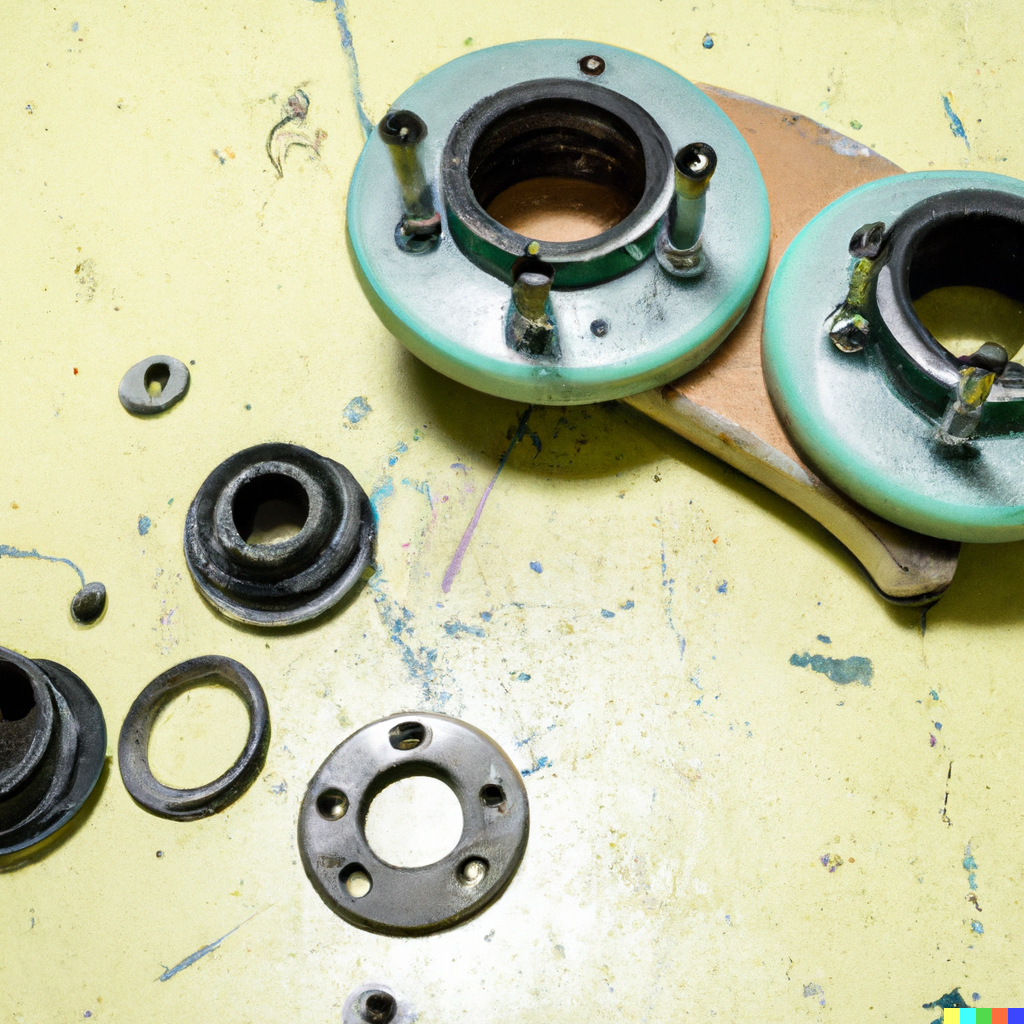
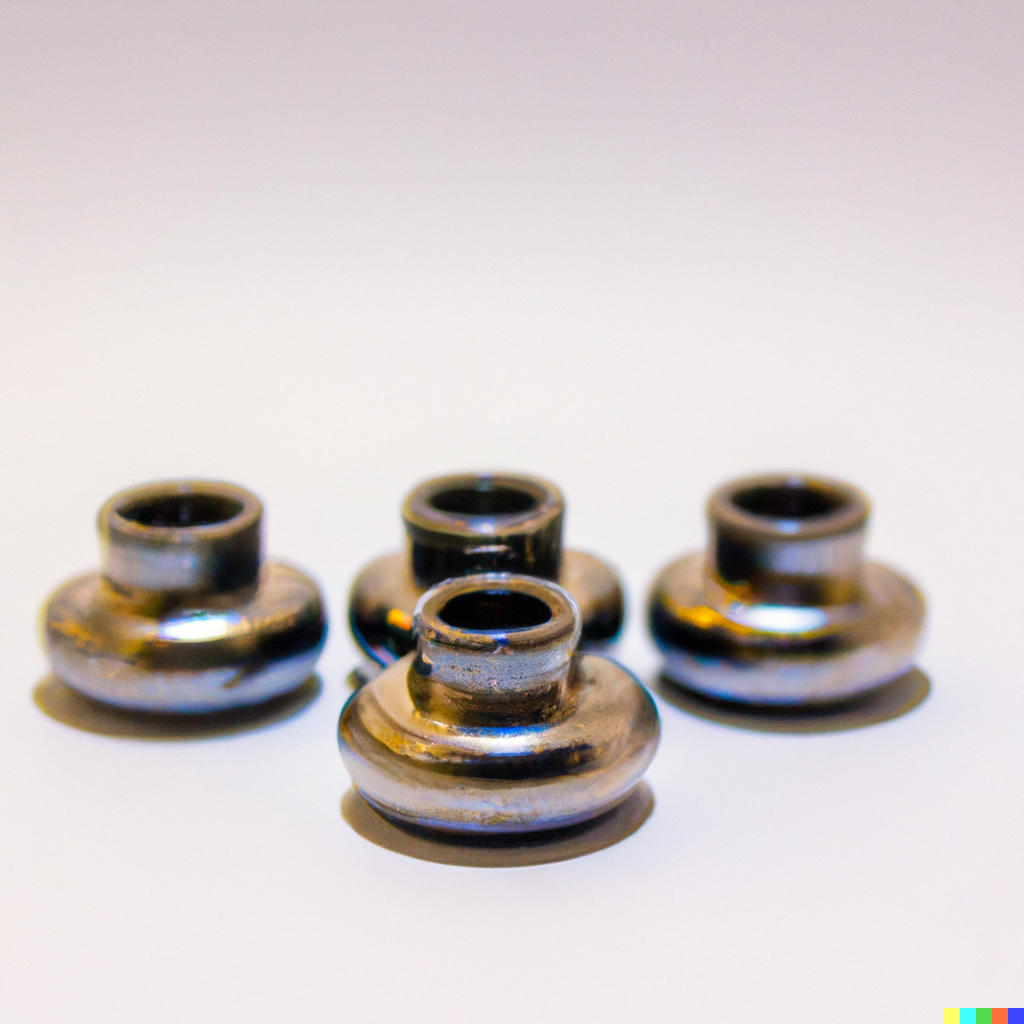
Step 4: Remove Ball Bearings and Bearing Shields
Alright, drama king/queen, it's time for the most thrilling act of this bearing saga: The Great Unveiling.
First, a standing ovation for our rubber-shielded bearings. A gentle poke with a pin, knife blade, or razor blade, and voila! "Pop goes the rubber bearing shield again!" That satisfying sound is just like popping the tab on a can of your favorite soda. Ah, the small joys of life!
Now, onto our sultry divas, the metal shielded bearings. They're the mysterious ones, the bearings that have walls up. Peeling off their metal shield shields requires the finesse of a seasoned flirt. It's a game of patience and gentleness. You can gently pry them off with a knife blade, but, darling, be gentle! Don’t rush; court them, tease them, play a bit of hard-to-get yourself.
However, a quick note for the overachievers out there: If you're just looking for a touch-up rather than a complete makeover (a.k.a not going for the whole deep clean extravaganza), you can give those metal and rubber shields a break and let them be. Sometimes, it's okay to let them retain a bit of their mystery. After all, everyone loves a little bit of intrigue.
Step 5: Soak Bearings in Cleaner
Here's the sauna session! Dump those dirty bearings into isopropyl alcohol or mineral spirits. Let them soak and shimmy. But be patient—think of it as their version of a bubble bath with extra fizz.
Step 6: Dry & Re-lubricate
After giving your bearings that much-deserved soak, it's time to get dry bearings and get them prepped and primped for their runway—uh, I mean, your skateboard!
-
Lay 'em Out to Bask: Take those glistening bearings and lay them out on a paper towel. Think of it like they're on the beaches of Malibu, catching some rays. Make sure they’re not touching, though; no one likes tan lines.
-
Choose Your Drying Technique: Now, you've got options, darling. Let them air dry, allowing nature to do its thing. But, if you're the kind of person who can't even wait for their nail polish to dry (guilty as charged), grab some compressed air. A gentle blast should wick away the moisture faster than a celeb scandal fades.
-
Lubricate with Flair: After they're dry, and I mean Sahara desert dry, it’s time for the pièce de résistance! Bring out your lubricant—Bones Speed Cream or even light oil, if you're going for a homespun vibe. Apply a couple of droplets on each bearing, spinning them to ensure they're thoroughly coated. Think of it as a hydrating serum for your bearings, ensuring they remain youthful and sprightly.
There you have it! Your bearings, having had their spa day, are now ready to strut their stuff, glide smoothly, and show the world that they are the real MVPs of the skateboard game.
Step 7: Replace Shields & Mount Bearings
Step 7: Replace Shields & Mount Bearings
Alright, superstar, it's time for the grand finale! The bearings have had their luxurious bath, they've sipped on some exquisite lubricant, and now they're just bursting with anticipation. Let’s get them show-ready!
-
Rubber Shield Drama: Those rubber shields you set aside? It’s their time to shine. Carefully snap them back onto the bearings. This isn’t just about protection—it’s about giving the bearings that fresh-out-of-the-salon look. Make sure they sit snugly, like a designer outfit tailored just for them.
-
Tucking Bearings In: Remember, the wheels are their homes. Gently nestle each bearing into its designated wheel. It should slide in like a diva slipping into her high heels before a big show.
-
Axle Extravaganza: Ah, the skateboard axle, the runway where our little bearing stars strut their stuff! With your handy skate tool or trusty socket wrench in hand, screw everything back in place. Tighten but don’t overdo it; we don’t want our stars to feel constricted.
-
Final Touches: Give the wheels a gentle spin to make sure everything feels smooth. If they're spinning like dancers on a ballroom floor, then, darling, you've nailed it!
And voilà! Your bearings are not just ready to roll; they're ready to dazzle, steal the spotlight, and make every pavement their personal runway.
How to Clean Skateboard Bearings with Household Items?
No fancy cleaning agents? No worries! When it comes to the bearing cleaning process, rubbing alcohol, the sassy nail polish remover, or even warm water and dish soap have got you covered. But let's dive deeper into this DIY journey, shall we?
By the way, if you're also curious about how to clean grip tape on your skateboard, there are plenty of DIY methods for that too!
If you're eyeing that engine degreaser in your garage, hold up! While it's a champ at cutting grease, it might be a tad too harsh for your skate bearings. Stick to the gentle soul of warm water and dish soap or let those bearings dance in a bowl of rubbing alcohol.
Whichever household potion you pick, just remember to serenade them with a hair dryer or a gentle towel pat-down afterward. Dry thoroughly, though. Rust is so last season and we're all about that smooth ride, darling!
Can I Use Dish Soap to Clean Skateboard Bearings?
Absolutely! A bit of warm water, a splash of dish soap, and you’ve got yourself a DIY bearing spa. Dish soap can be that unexpected MVP in your cleaning arsenal. It works wonders in breaking down the grease and dirt that your bearings might be strutting.

Just ensure you rinse thoroughly because no bearing wants to skate with soap residue, darling. And as much as bearings might love their spa moments, they detest water hangovers. So, dry them meticulously. Rust is nobody's friend, and we're not looking to invite it to this party!
What To Use To Wash Bearings?
When your usual cleaning suspects are playing hard to get, don’t fret! Grab some engine degreaser or even nail polish remover – yes, the very one you use for those glam nights out. Even if it feels like a bit of a MacGyver move, they can work wonders in making your bearings shine like disco balls.
And always, ALWAYS, remember: a damp bearing is as out of style as last season's cargo shorts. Dry your bearings dry take them out, sprinkle some love (lubricant, in this case), and let them glide!
What Can You Lube Bearings With?
There's the elite Bones Speed Cream, beloved by skaters who know their stuff. But sometimes life throws curveballs, and you find yourself without your trusty cream. Panic? Heck, no! For those days when you're in a bind, a dash of light oil will strut down the runway just fine.
But here's a cheeky word to the wise: while we adore a good thick shake, when it comes to your bearings, avoid the goopy grease. Trust me, darling, in the world of skate bearings, we're aiming for a glide reminiscent of butter on a hot pan – slick, smooth, and absolutely scrumptious.
Not, well, like trying to skate through a jar of peanut butter. Sticky is a mood, but not for your wheels!
How Often Should You Clean Your Bearings?
Spa day every 2-4 months if you’re a skating addict. Dirty rides more often? Honey, pamper them bearings more frequently. But here's the juicy bit: if you're dancing with your skateboard in the rain, cruising on gritty paths, or maybe just showing off by drifting through sandy terrains, you might want to give them a cheeky clean more often.
Think of it as giving your bearings the VIP treatment in the roller disco of life. Because, darling, the dirtier the dance, the more frequent the cleanse! Keep those ball bearings groovy and your skate bearings even groovier.
How Long Do Skateboard Bearings Last?
With some TLC and the occasional whisper of sweet nothings, beauties like Bones Swiss can go on and on. But let's get real: Just like how your favorite skinny jeans might eventually give way after one too many cheesecakes, even top-notch skateboard bearings have their expiry date.
Depending on how often you skate (or show off), the terrains you tackle, and how frequently you're treating those bearings to a sudsy spa, the lifespan can vary.
Yet, with regular cleaning, avoiding those devilish puddles, and steering clear from grinding dirt, your beloved bearings can give you several years of wheely good times. It's all in the wrist—and the cleaning! And maybe a bit of luck. But mostly the cleaning.
How Do I Know If I Need New Skateboard Bearings?
Oh, darling, bearings are like relationships—sometimes, despite the pampering and sweet talks, they just don't vibe anymore. If they don’t sing after a cleaning sesh or sound like your grandma's old radio, it's time for a bearing shopping spree!
And, if that wasn’t clear enough, if you notice your skate feels more like wading through mud rather than gliding on air, or if your bearings look more weathered than last season's fashion, those are cry-out-loud signs that it's time for newbies.
Because, let's face it, no amount of TLC can revive some worn-out bearings, and you, my dear skateboarder, deserve only the best beneath your feet!
Other Factors To Consider
Hold up, darling! Before you snap those freshly cleaned skate bearings back in, give them a good ol’ inspection. Not just a casual glance, but a red-carpet scrutinizing look. Do you see any wear and tear, or perhaps some sassy imperfections on the bearing race? Are all the balls in their proper place or are some of them throwing a diva fit?
If your ball bearings are looking more goth with discoloration, or if there are scars and pits, it might be time to consider if they're still runway-worthy or if retirement is on the horizon. Bearings might seem like small metal doughnuts, but they’re the stars of your skate show. And stars, honey, need their spotlight.
So ensure you’re not just making them look pretty, but also ensuring they're in top shape for performance. After all, what's a skateboard without its superstar bearings strutting their stuff?
The Bottom Line on How to Clean Your Skateboard Bearings with Household Items
Treat those skateboard bearings clean and like royalty! Regular royal baths and lubing sessions will ensure they roll out the red carpet for you every time you skate. Whether you're a diva with high-end cleaning agents or a DIY master, strut your stuff and keep those bearings glam!
And honey, remember, it's not just about looking good—it's about feeling good. And these bearings? They're the heart and soul of your skateboard. Give them the star treatment, and they'll ensure you shine brighter on that skatepark runway.
So whether you’re splashing them in fancy isopropyl alcohol or giving them a warm water dance, make every cleaning sesh count. Because a clean skateboard bearing not only rides smoother, but it screams confidence. Now, go on and ride the wave, bearing superstar!